Are you ready to start planning for your holiday display? Our guide will help walk you through the steps to getting the most out of your display and making your home and yard stand out.
-
Visually plan what you want your display to look like. Stand in front of your home and walk around to get a vision on what you want to accomplish. Take some pictures so when you are shopping for your supplies you can remember exactly where you want them to be and how others may view your home.
-
Measure the areas you want to hang your lights. Be sure to measure both the width and height of all the areas you plan to cover to determine how many strands you will need. If you plan to use netting lights to cover shrubs, calculate those measurements separately.
-
Determine the type of lights you want to use. Take into consideration the energy usage and brightness you are trying to achieve to determine the best bulb type to use. Be sure all your lights are UL Listed and rated for outdoor use. There are many types of LED and energy saving lights on the market. They all provide their own unique style and glow so spend some time browsing what is available to determine what works best for your goals.
-
Purchase the other items that you will need to attach your lights to your home and provide the power your display will require. There are a variety of clips designed for attaching lights to gutters, shingles, and roof ridges. A light tester will be a handy tool to have especially if you are using lights that have been sitting since last season or if any of your lights go out while in use. A light repair tool is vital since for those fixes you will surely have to make during the season. A timer also makes things much easier than plugging lights in every night. Have plenty of extension cords on hand to make sure you can reach all the areas you want your lights displayed on.
-
When using gutter clips, sliding your light on to the clip before attaching it to your gutters is much easier. There are a variety of adhesive products available when you reach windows and other areas that gutter, and shingle clips won't adhere to.
-
The roof ridge is a particularly tricky area to work with but makes a huge difference in your overall design. Use caution when working in this area and never work alone or under wet or slippery conditions. There are products available for attaching lights to the ridge that will make this task easier.
-
Icicle lights create a unique look. Since they tangle more, it is easier to lay them out and untangle all the vertical strands before you start hanging them.
-
Netting lights make your shrubs stand out and bring them into your display. These lights also tangle easily so it is best to completely untangle each strand and lay them out prior to attempting to drape them over your shrubs. Having a second set of hands will make this job much easier.
-
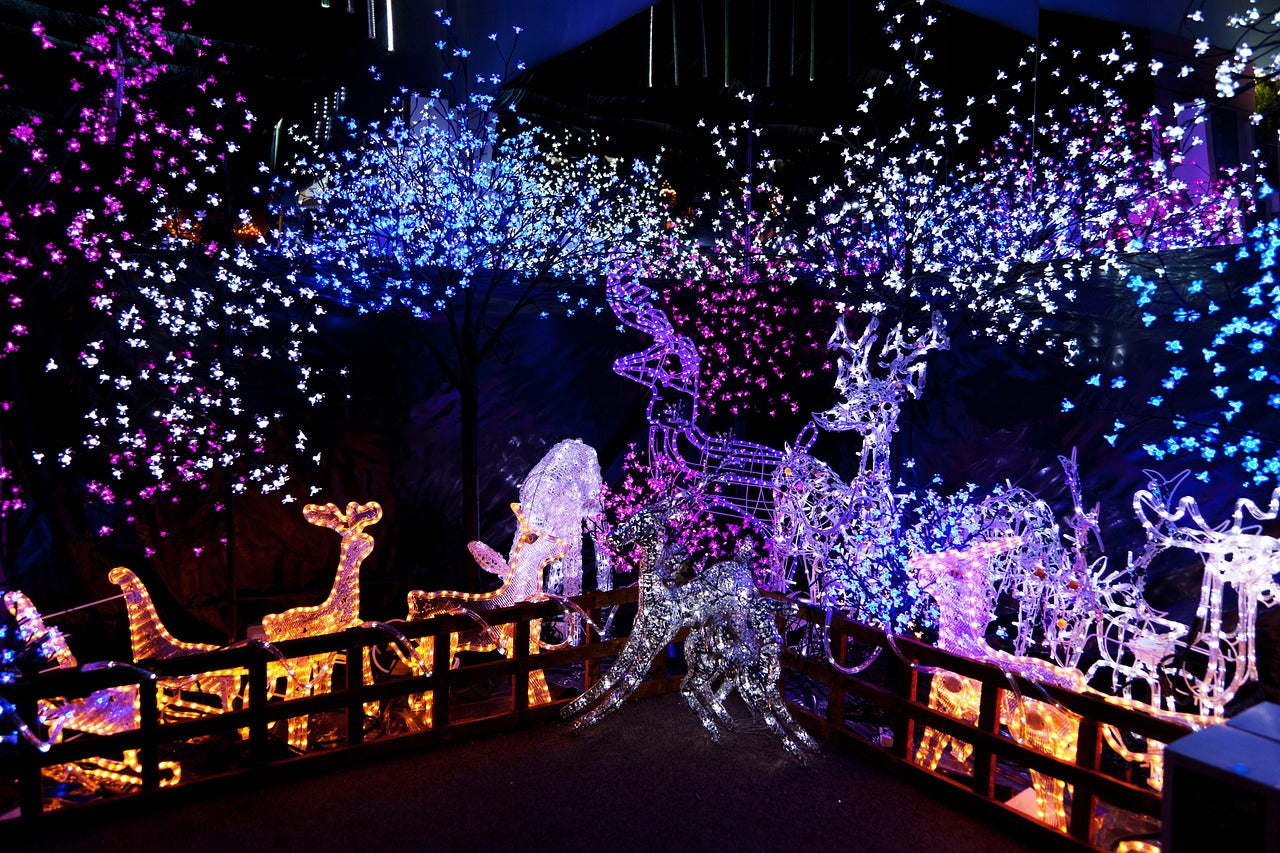
There are various other types of decorations available to top off your display such as lighted inflatables, laser lights, pathway lights and rope lights. You can be as creative as your mind allows.
- Be sure that you are only stringing the number of light strands together that the manufacturer allows. This information can be found on the packaging of any lights you purchase. A timer will be your best friend this season so your lights will turn on and off when you want them to with minimal effort.
Hanging Christmas lights can be a fun project that will bring joy to not only your family but also your neighbors and passersby and help everyone get into the holiday spirit. We have a variety of items to help you decorate your home both indoors and out this season.